

Most of the artwork I produce is based on relief printing. All of my plates (either wood or linoleum) are carved by hand. After I am done carving the design into my plate, I ink the plate using a rubber roller. Once there is an even amount of ink on the plate, I put a piece of rice paper on top of it and rub the back of the paper to transfer the ink.
Here is an example of the process of printing a 3- layer reduction woodcut. It is called a "reduction" woodcut because I use the same plate for every color. I like this method because I don't have to make different plates for every color. Because of the reduction process, the whole edition has to be printed at one time because the plate will change after every color. The only downside to a reduction woodcut is if I mess up the plate on any step, I will ruin all of the prints and there is no reversing it.
Now that I have confused you, the following steps might help.
1. Sketch your design on your plate. In this case my plate is a piece of poplar wood. After Sketching the design, carve out everything that you want to stay blank (white) on the print.

2. Ink your plate with your lightest color. You always go from lightest to darkest when doing a reduction print because you are stacking the colors on top of each other. Lighter colors do not cover dark colors very well.

3. Place your paper on top of the plate and rub the back of it with something flat that wont tear the paper. This will transfer the ink from the plate to the paper.
After I am done transferring the ink, I can take the paper off and let this layer dry.
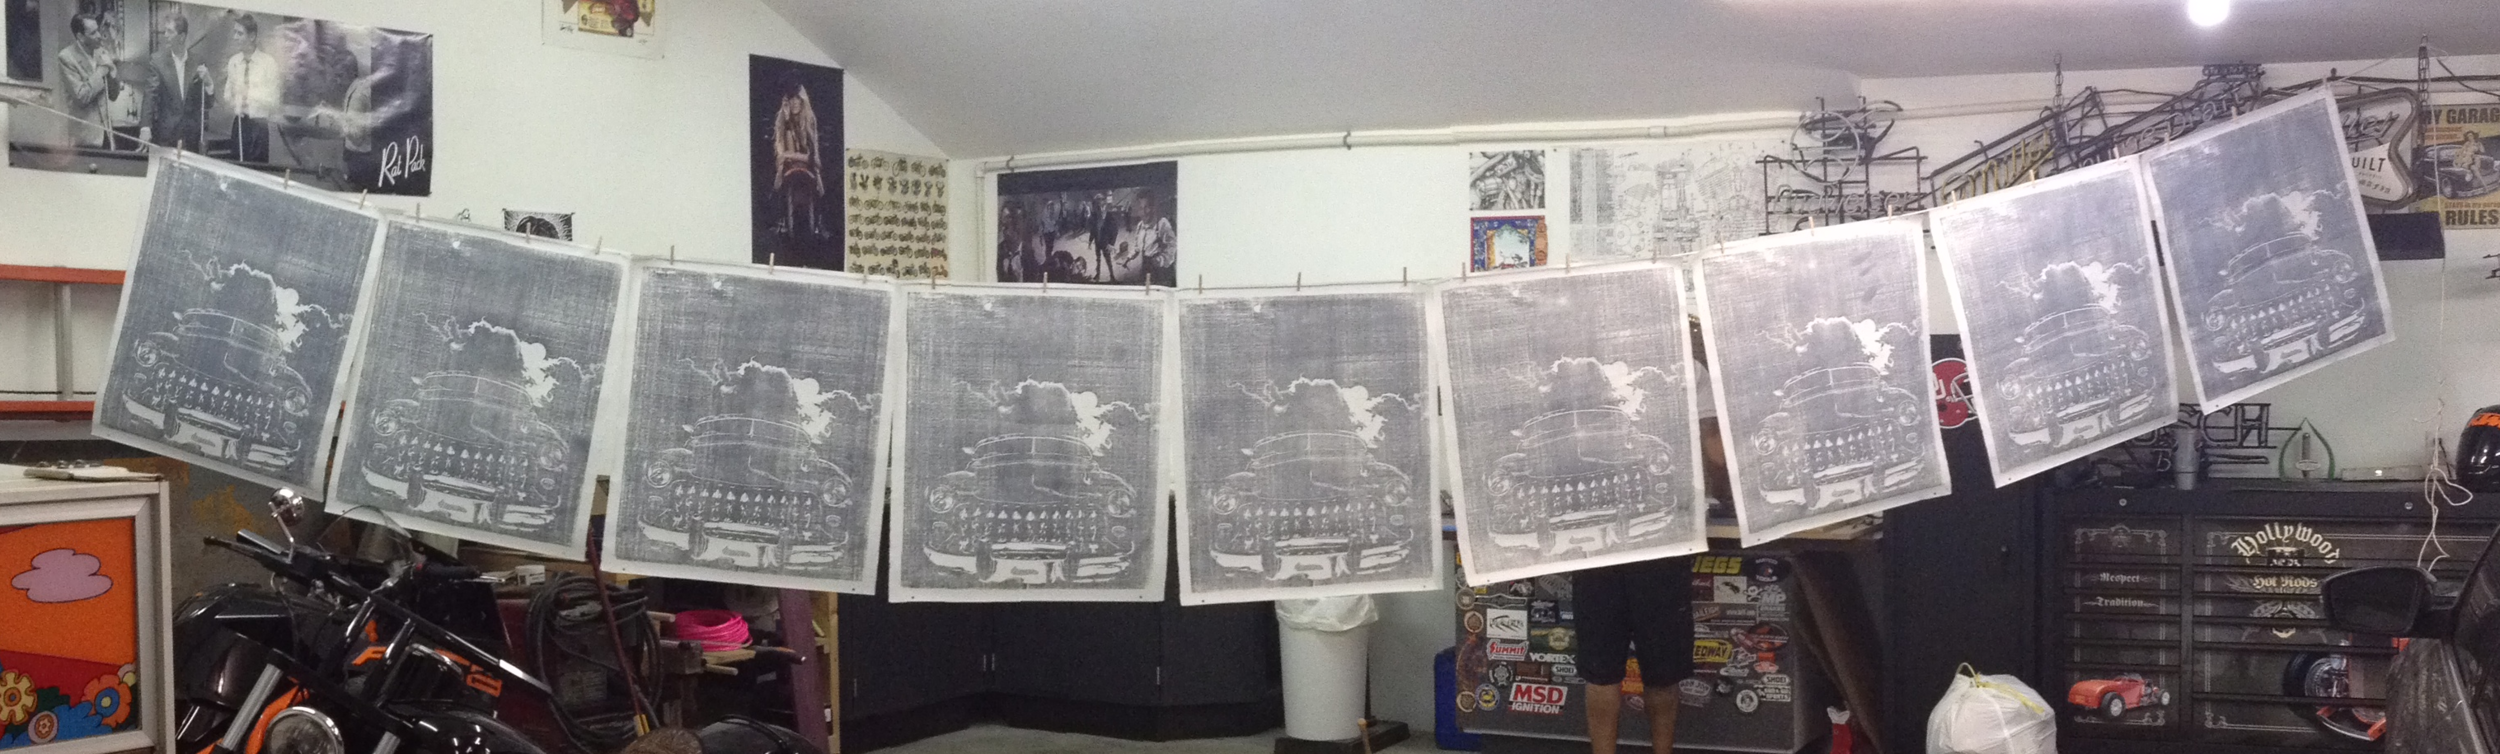
For this print, I made a limited edition of 13 so I had to repeat these steps 13 times on 13 separate pieces of paper.

4. Now its time for the second color. It is time to carve the plate again. For this step you need to think backwards to the last color you printed. At this point, whatever I carve out of the plate will stay the same color I previously printed.


5. The final step in this piece is to print the final color black. Just like the step before, you need to think backwards to the last color you printed. In this case, whatever I carve out of the plate will stay dark grey. It is also very important to line all of the colors up when printing them, so there aren't any gaps in the colors.


When you are printing a single color print, there is only one step in the printing process. In the example I showed you, there are 3 layers of color. The more colors you have in a print, the longer the printing process is going to be. The image below has 10 colors in it. I hope you enjoyed the lesson.
